Time needed: 45 minutes
In this article we will learn how-to draw a cookie step by step in easy way
- Let’s get started
As I always say in all my tutorials that if you want to learn how to draw, grab a pencil and paper and follow along with me in this tutorial.
You will need some drawing materials to follow along with me in this how to draw a cookie tutorial,
if you have followed my other drawing tutorials then you might already be ready with the materials,
Those of you following this for the first time will need some art supplies to get started: Drawing pencils 2B, 4B, etc., Charcoal pencil, drawing paper, kneaded eraser, paper stumps, mechanical pencil.
Check out this page first if you want to want more info on art materials:- ART SUPPLIES
To start with the drawing steps grab a cookie image from the internet or get a real cookie as a reference to draw from. - DRAWING BASIC STRUCTURE

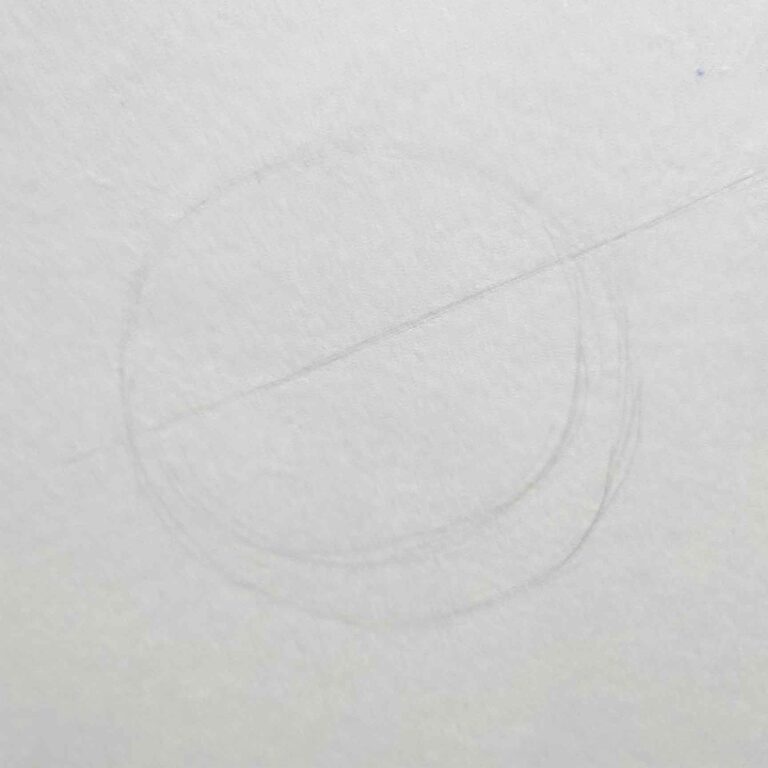
Get a mechanical pencil or a light pencil and just draw a diagonal line as a middle ruler and construct a basic cookie structure according to your reference cookie.
Just do it very roughly, we will consider it as a baseline so we can check out the proportion. - OUTLINE OR CONTOUR DRAWING
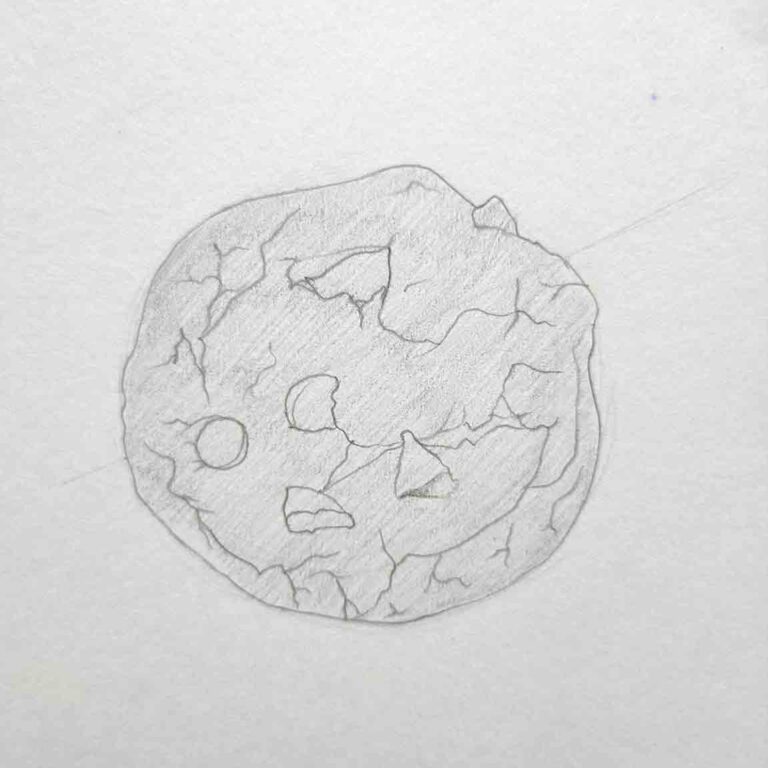
So I have made an outline according to my cookie reference, I have drawn the choco-chips and also drawn some crack lines present in my reference cookie.
The crack line drawn will later guide us to shade in where the cracks are, you can draw according to my drawing or from your reference,
I will suggest you draw it by looking at your reference so that you have to decide where to put the cracks and choco-chip and don’t just copy my drawn lines, In this way, you will learn quite less. - ADDING UP LAYERS
As we know that the cookie can’t be white like the paper, so we will add a light layer of a pencil to cover the entire cookie, it will differentiate the cookie from the drawing paper, you can use HB or 2B.
Don’t make it too dark otherwise, our middle tones will not be seen. - ADDING CHARCOAL
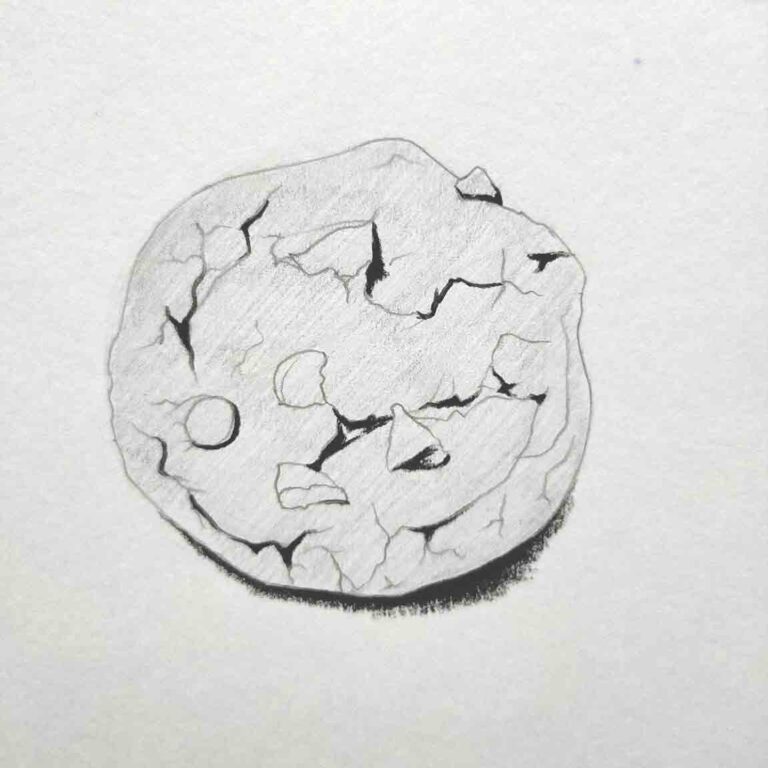
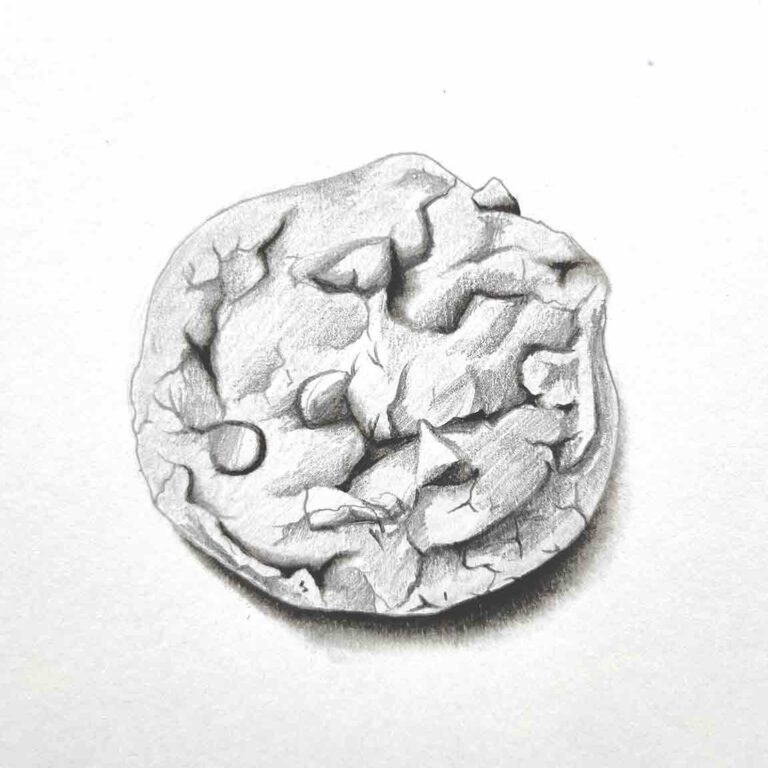
In this step we will shade the darkest part first, you can use a soft charcoal pencil or if you don’t have a charcoal pencil right now you can use any darkest pencil you have for it.
Underneath the cookie, we will add its cast shadow and we will also add some charcoal on some of the deep cracks which you may see on your reference as well.
The means to use a charcoal pencil for this step and not the drawing B pencils is that we can achieve the darkest contrast with few lines and this darkest tone will not surpass any of the drawing B pencils and this step will probably stay darkest as we want. - BLENDING
As you can see in the image I have blended all the charcoal pencil layers with the help of the paper stumps.
I have blended mostly from the sides according to the reference as to how the actual cracks are looking, just try it out first on a rough paper to test how the blending looks and if it’s looking like the cracks, and then apply it on the drawing. - ADDING LAYERS
It’s time to use the drawing B pencils, let’s start with 2B pencils.
First, determine a light source, I have determined my object light source from the upper left side, and where you see the lightest part on the object leave that part as it is, for now, we are targeting the dark and the middle tones, apply the 2B pencil (by looking at your reference) where you feel it has dark and middle tones.
We are targeting both tones for now because we will add one more layer on the dark tone later to make it differ from the middle tone. - BLENDING LAYERS
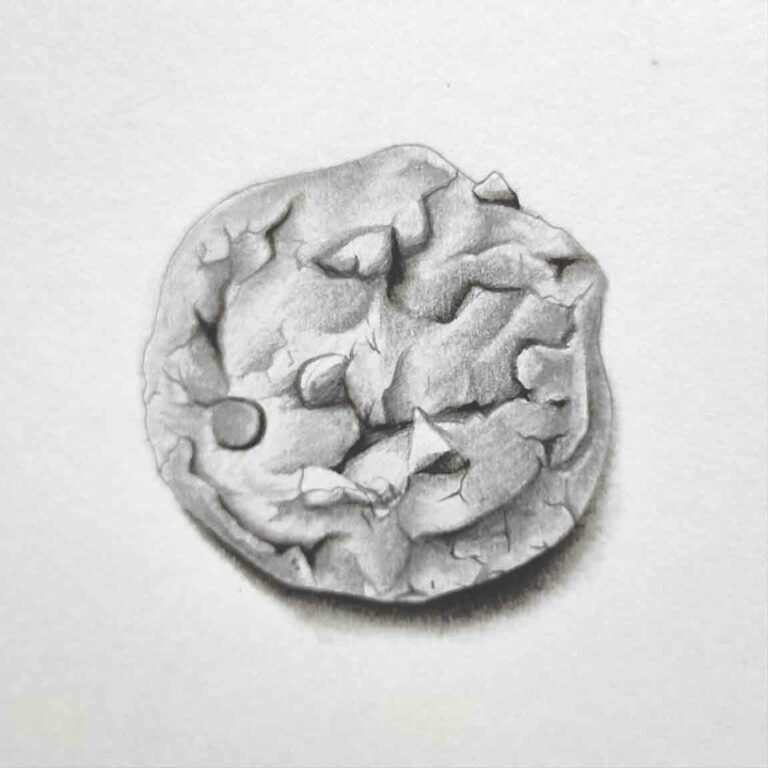
Now pay attention to your cookie reference observe it closely and then start to blend the areas accordingly.
I have kept the light tone areas as it is and blended the area where middle and dark tones are,
You can create the bumps on the cookie by shading that particular area bump from (both)sides from dark to gradually fading on the middle, Consider every cookie bump as a half-sphere or a convex surface and shade accordingly to get that shading effect. - ADDING MORE LAYERS
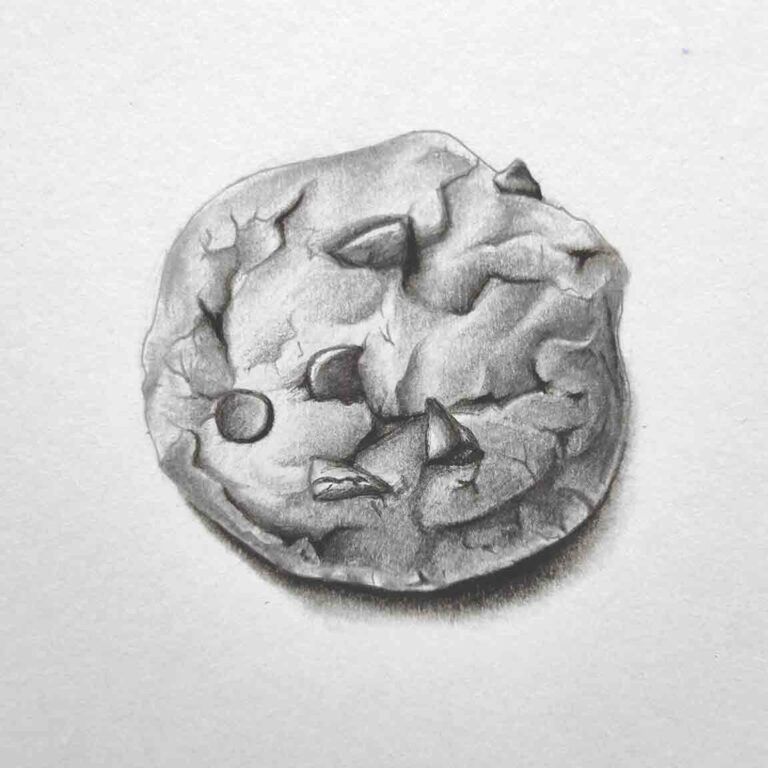
So as you can see I have added some dark shades on the choco-chip to make it darker than the cookie itself,
And also added a more dark layer (because this part is in the shadow) on the bottom right part, opposite to the lightest part as I have assumed my light source from the upper left side. - BLENDING ALL TOGETHER
I have blended all the shading work with the help of paper stumps and on the right bottom corner line, I have removed some graphite with a kneaded eraser to show the reflection light.
Your cookie drawing may be looking different from mine but that is the good part about this drawing as all cookies are different from each other so you can’t go wrong with this, just it has to eventually look like a cookie 😉 - ADDING TEXTURES AND CAST SHADOW
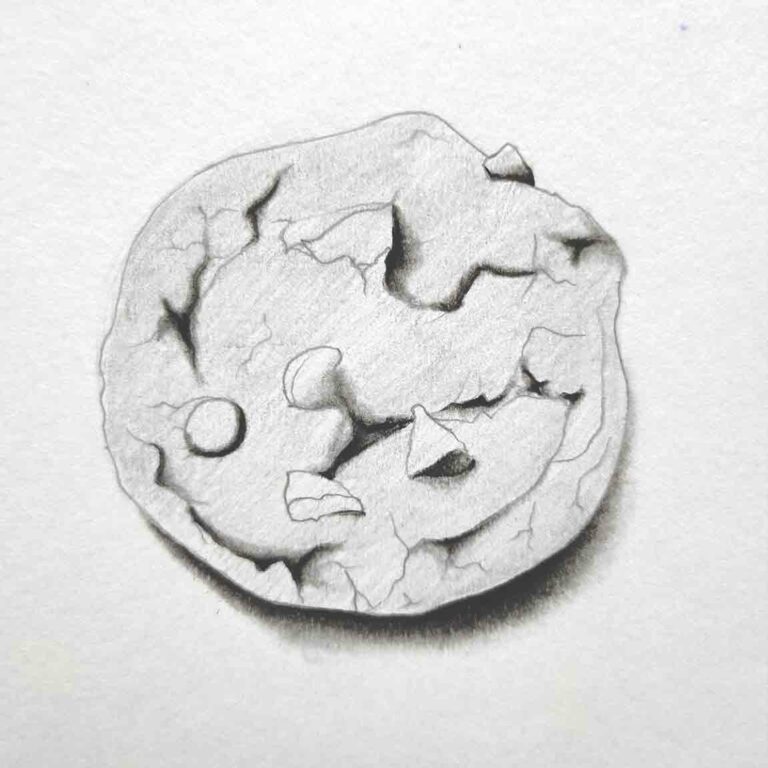
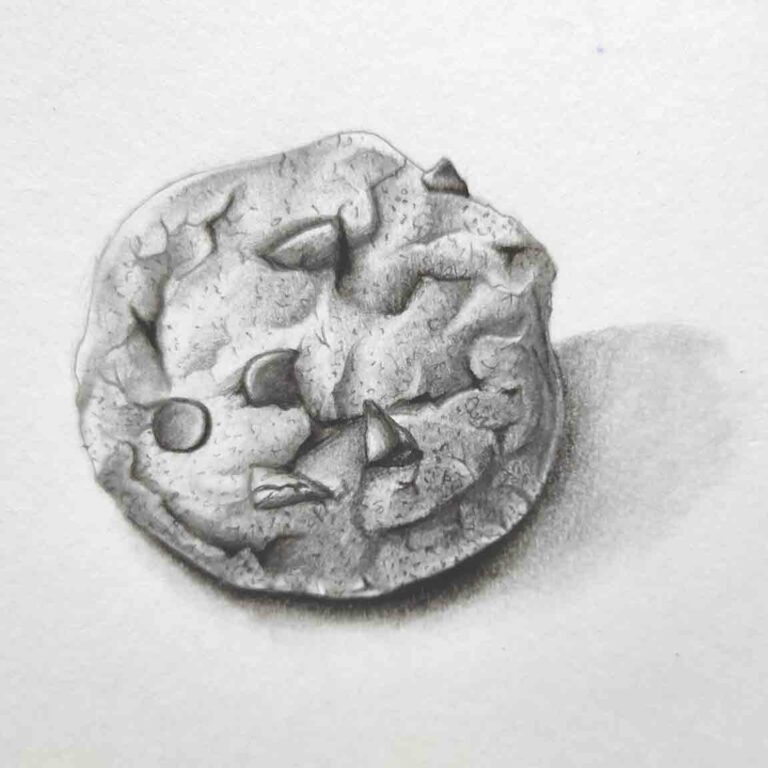
To make it look more real I have added some dots and tiny lines to create some texture of a cookie.
you can give it more time to create texture and make it like small cracks it will look more appealing and real.
And I have made that cast shadow a little longer, but remember to put it the opposite of the light source you have decided.
And cookie is ready to eat:)
If you think you have learned anything from this tutorial, please comment down below and let me know. Thank you.