In this article you will learn how to draw lips step by step in very easy to follow tutorial.
- Let’s get started
You will better understand this tutorial if you will draw with me and check your progress accordingly, So grab your pencil and paper and get ready.
Art supplies you will need to get started- drawing pencils 2B, 4B, Charcoal pencil, drawing paper, paper stumps, Kneaded eraser, mechanical pencil. If you don’t have the drawing materials to get started check out this link- Art Supplies.
Before starting, take a reference photo of lips or a portrait and try to create your drawing by looking at that picture and followings along with the steps. - DRAWING BASIC STRUCTURE

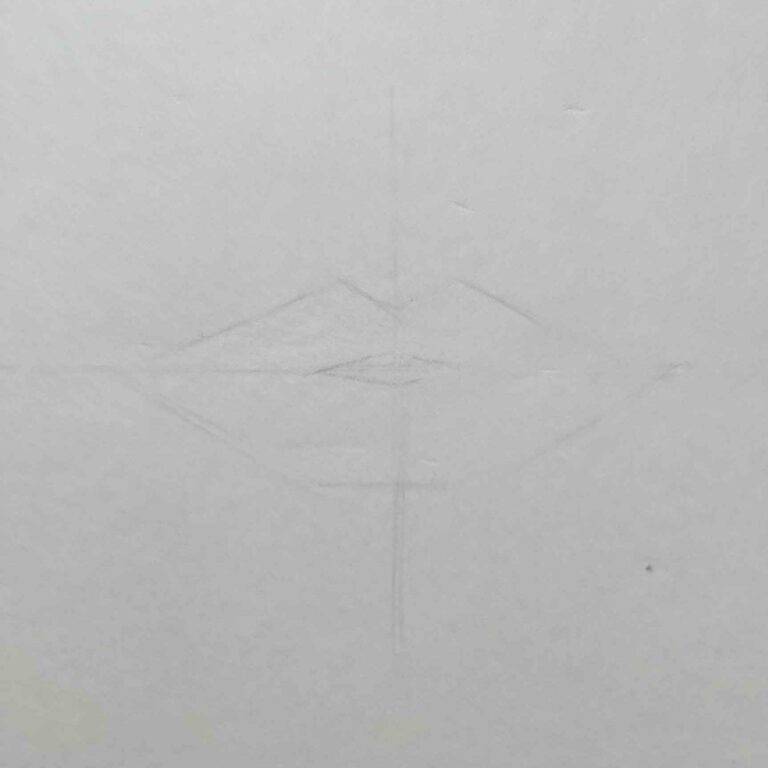
So take out your mechanical pencil or any light pencil and draw a very light horizontal line and a vertical line intersecting on the middle to maintain the proportion of the drawing and then drawn a basic structure of the lips,
you don’t have to be perfect these lines are just for reference and to properly align our lips.
But remember to keep it very light so that it doesn’t show up on our actual drawing and we can easily erase the extra lines on later stages of the drawing.
This step will also help you to draw directly on a face, you just have to draw a basic structure first to align with the face and get your proportions right. - OUTLINE OR CONTOUR DRAWING
So now according to our basic structure of the lips construct an outline of the lips defining its natural shape as per your reference image, if you don’t have a reference image using this same image and follow along.
Don’t make the outline dark, it should be light, you only have to draw an outline dark when you are creating a cartoon character or a specific type of drawing otherwise it will not look realistic. - ADDING UP LAYERS
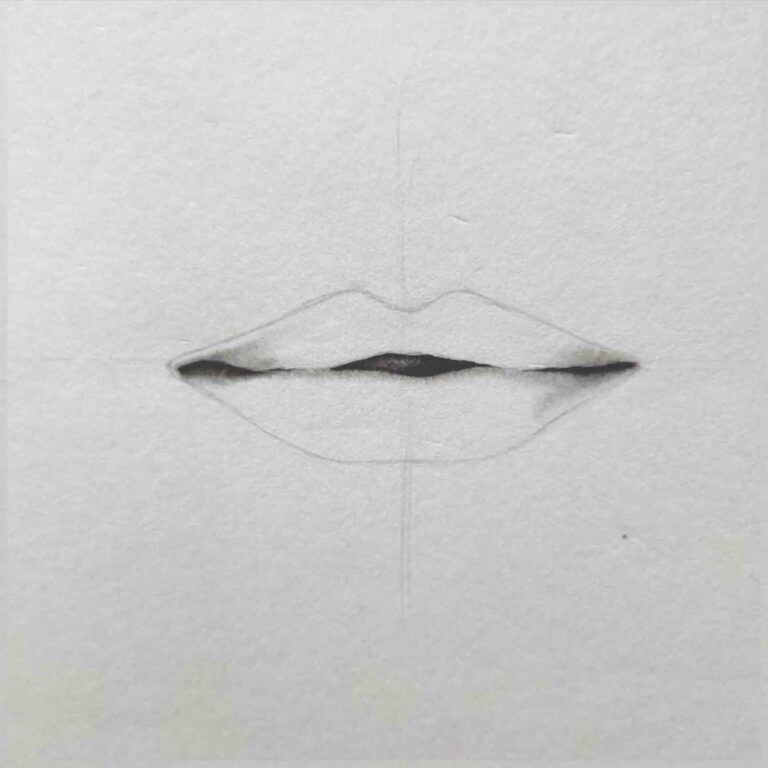
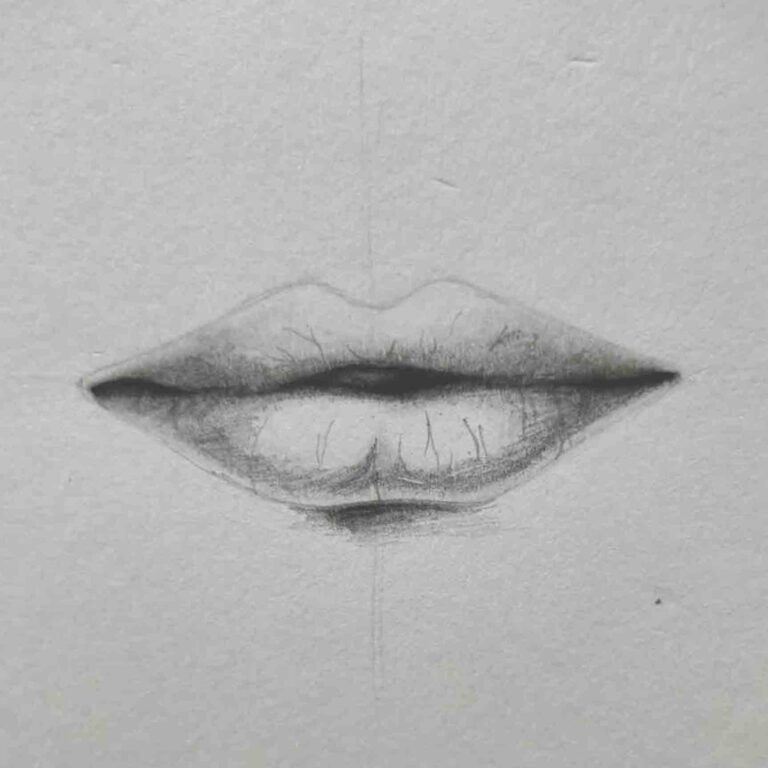
It’s time to start adding layers, as you see the darkest part of our drawing is the middle part inside the lips.
And to show the darkest shade we will use our charcoal pencil so it can get that dark contrast. Just apply the charcoal where desired according to your reference image. - BLENDING LAYERS
I have blended or smoothed out the charcoal with the help of paper stumps (if you don’t have one try it with cotton or tissue paper).
we just have to blend the sides of the charcoal area so that it gets merged with the drawing look like a shadow and not a hard marking.
Let’s move on to the next step. - SHADING LAYER
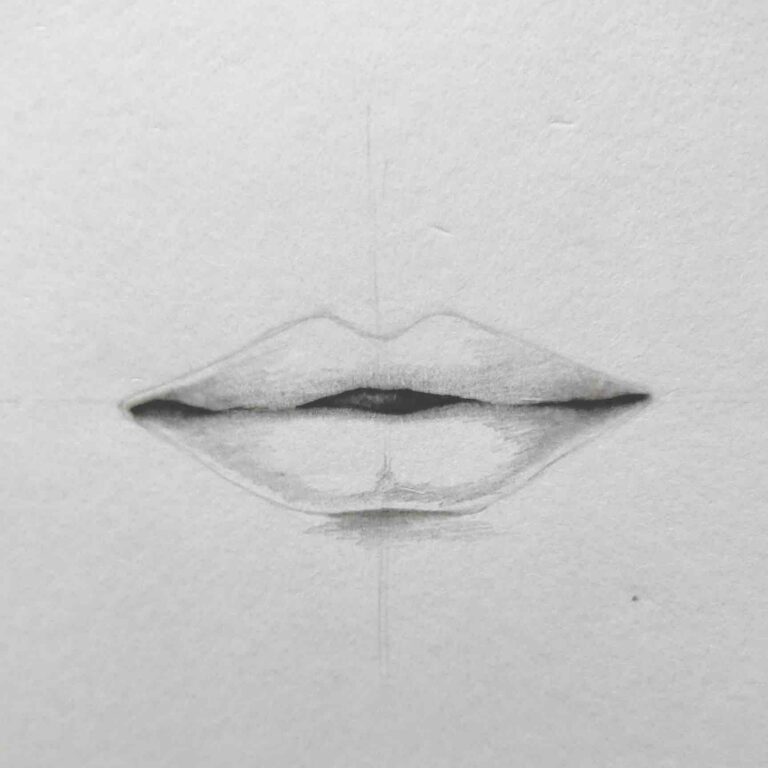
let’s start shading in this how-to-draw lips tutorial, grab your 2B pencil and add layers where you see middle tones according to your reference image.
Imagine a light source, in this image, it is from the top so I have added some shade below of the underlip area as a cast shadow this will give a depth of field to the lips. - BLENDING THE SHADES
You have to blend the shades according to the reference image tones, only cover the mid-tones, and leave the highlighted part blank to keep it as white as possible.
Use your paper stumps with light pressure and upon every blending stroke on drawing also stroke back on a rough paper to get rid of the graphite which the paper stump picked up from blending,
In this way, it will not ruin your blending with extra graphite of the pencil on your actual drawing. - ADDING TEXTURE OR WRINKLES
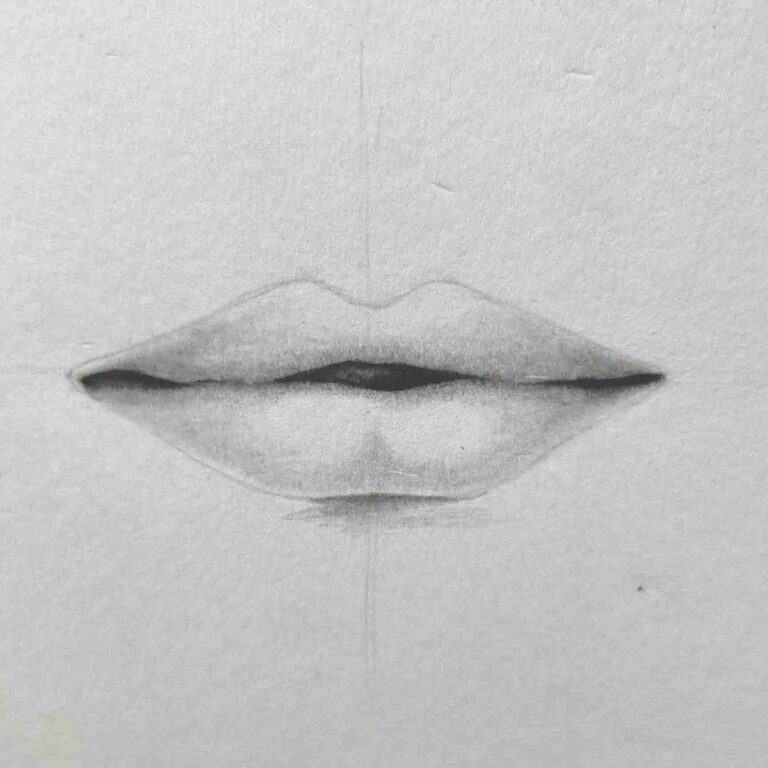
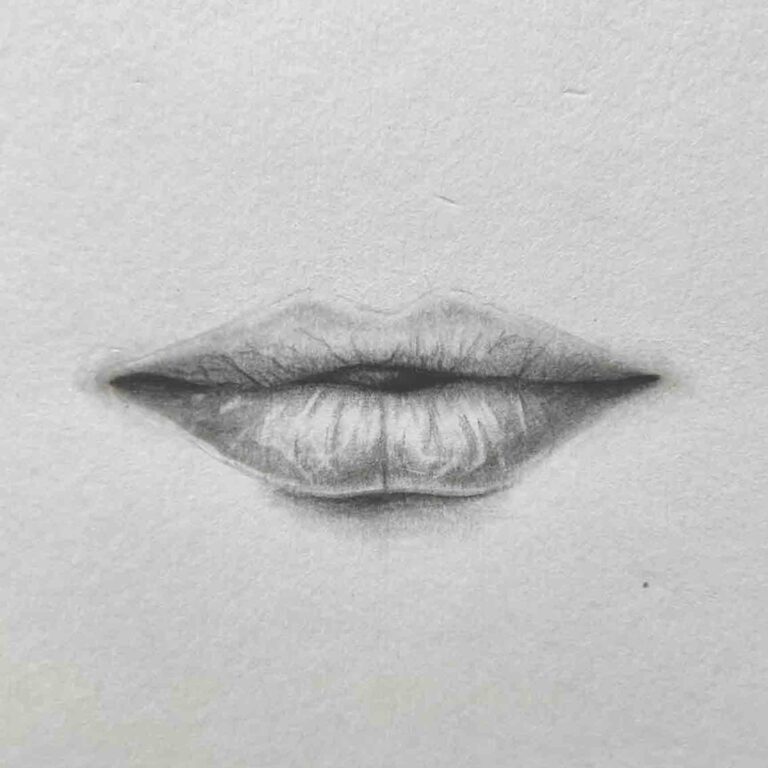
To make the lips more realistic and natural looking we have to create a texture that looks like wrinkles on the lips.
You don’t have to be too exact on drawing each wrinkle that your reference image has but just look at that in what area there are bunch of wrinkles and where there are less and according to that create random wrinkle lines or texture. - ADDING MORE LAYERS
To create more depth we will add more layers on top, you can use 4B or 6B pencils for it and shade the dark areas according to your reference image and leave the highlighted part as it is.
You can see that the texture line that we have created are diminishing but it is supposed to be like that so that the texture lines don’t show in a more prominent way. - BLENDING LAYERS AND TEXTURE
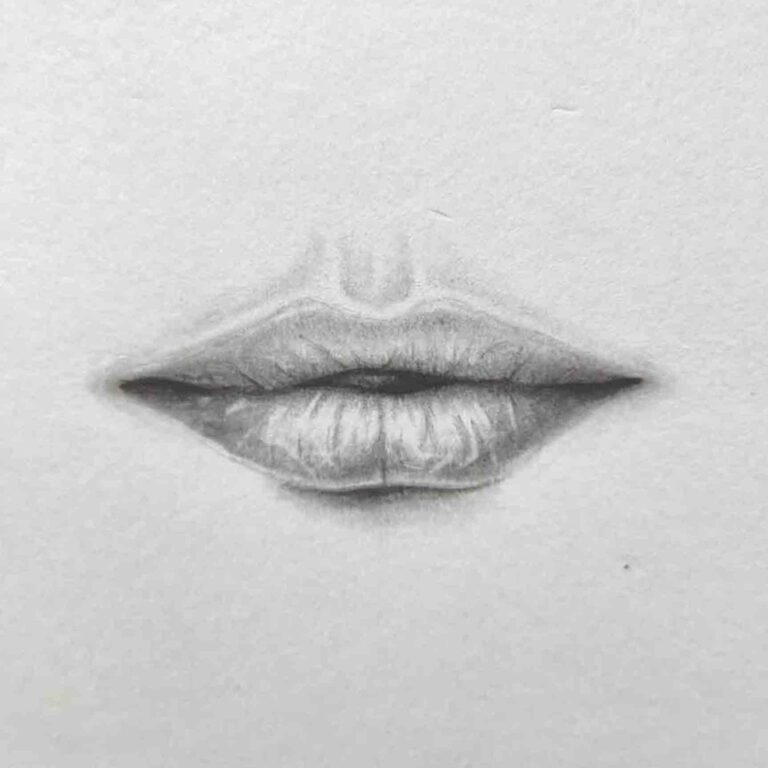
I have blended the textures and the shading all together and also added some more texture lines that were required according to my reference image.
The Underlip area should be darker than the shade on the lips because it is a cast shadow we are projecting. - ADDING HIGHLIGHTS
Grab your kneaded eraser and make it in a pointy form and create the lines like the wrinkle texture.
You can experiment with the kneaded eraser to give more details then you can create more texture to it, just not overdo it. - ADDING MORE DETAILS
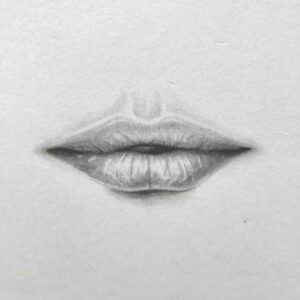
This step is not necessary but just to give more details to add up to the face I have shaded the upper part on the lips know as Philtrum.
If you have drawn together with me and your drawing doesn’t look the same then don’t worry you just have to practice more and you will be able to handle your pencils more profoundly and your hands will start to flow naturally (muscle memory).
Keep drawing keep practicing. If you have tried any drawing following this how-to-draw lips tutorial please comment down below and let me know how easy or hard the tutorial was to follow.