In this drawing tutorial, we are going to learn how to draw easily a realistic nose in a step by step tutorial

charcoal pencil
kneaded eraser
pencil sharpener
paper stumps
mechanical pencil
Photo reference (if you don’t have a photo reference you can use the above picture as a reference ).
We’ll not be needing any fancy or expensive materials to make awesome drawings, you just have to practice and increase your knowledge about the fundamentals of drawings and you can draw amazing drawings with just a few materials.
1. DRAWING BASIC STRUCTURE
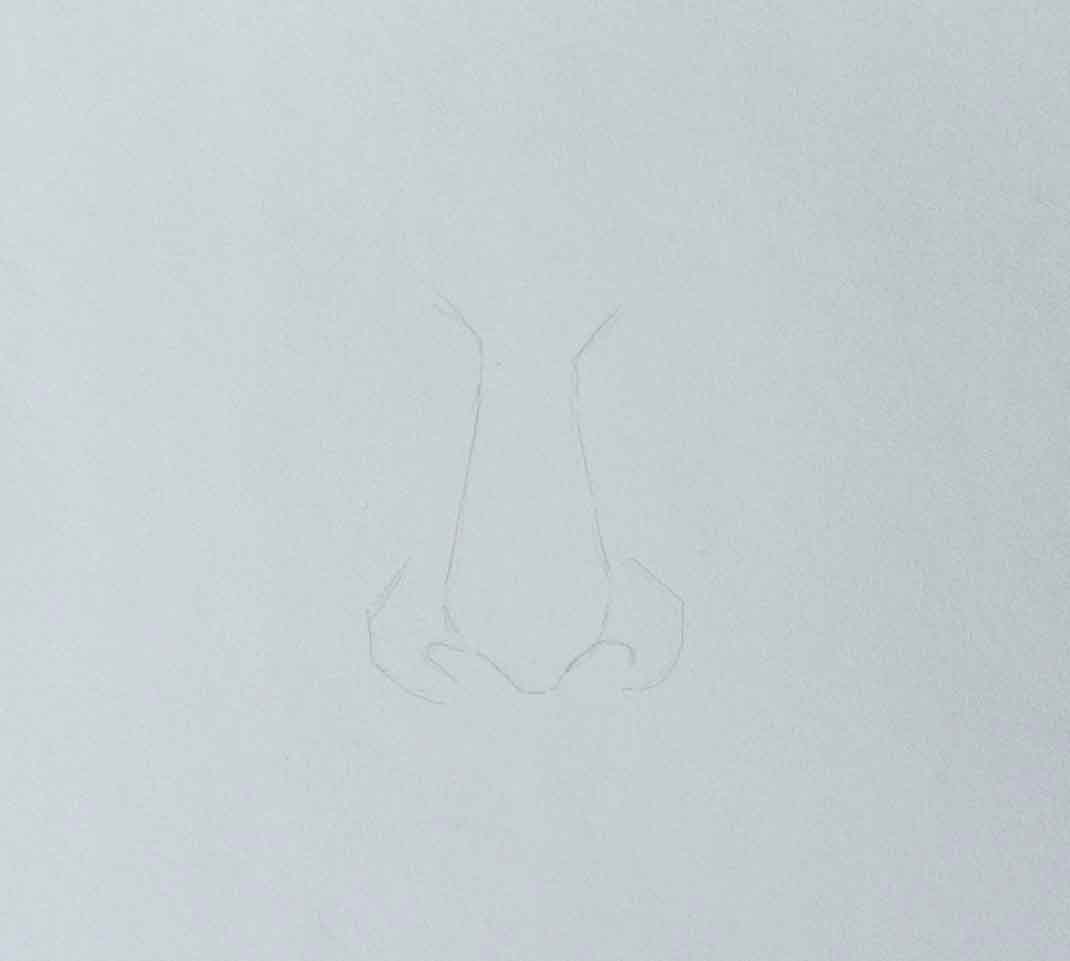
I have drawn a rough basic structure of the nose, you don’t need to be perfect in this, this is just to define the shape so that the nose doesn’t look out of shape or sideways.
keep it real light, because we want to create a realistic drawing so we don’t want any lines showing like a cartoon drawing I have made the lines a little pronounced so that you can see them.
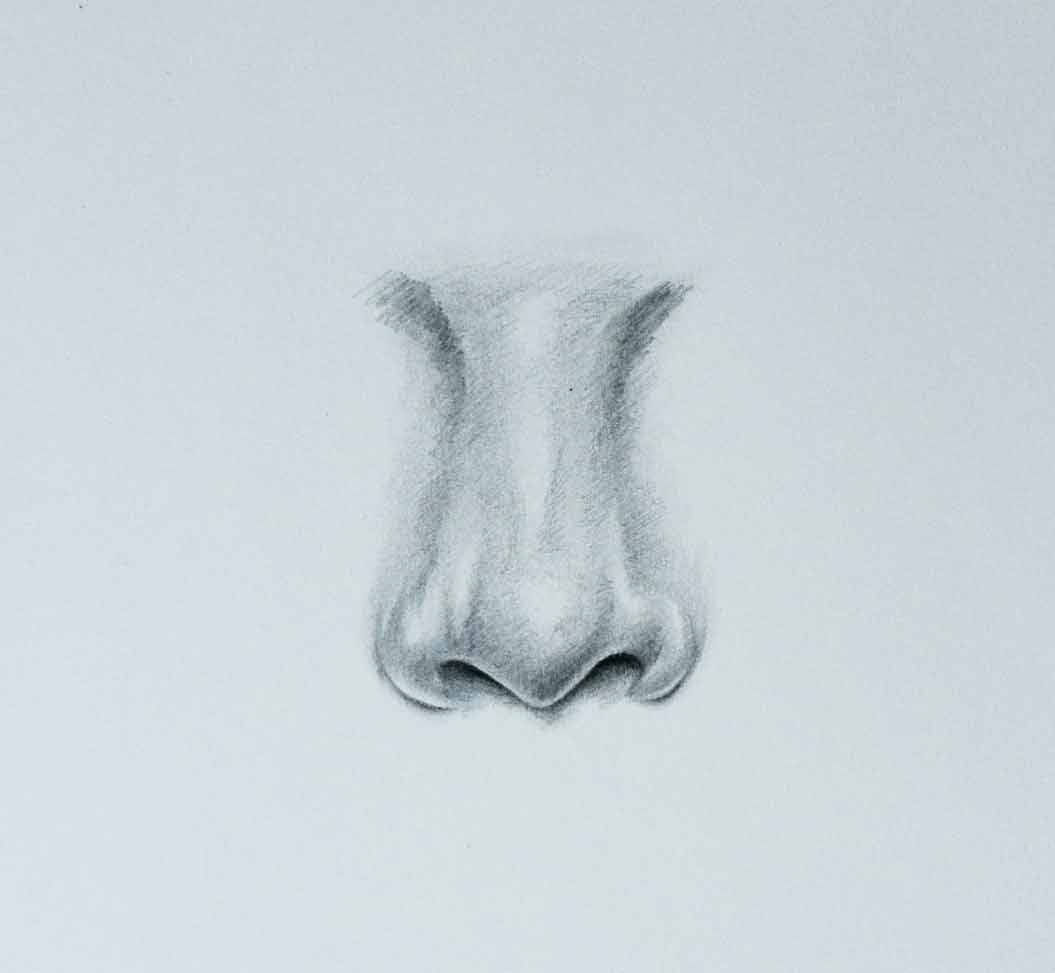
2. OUTLINE OR CONTOUR DRAWING
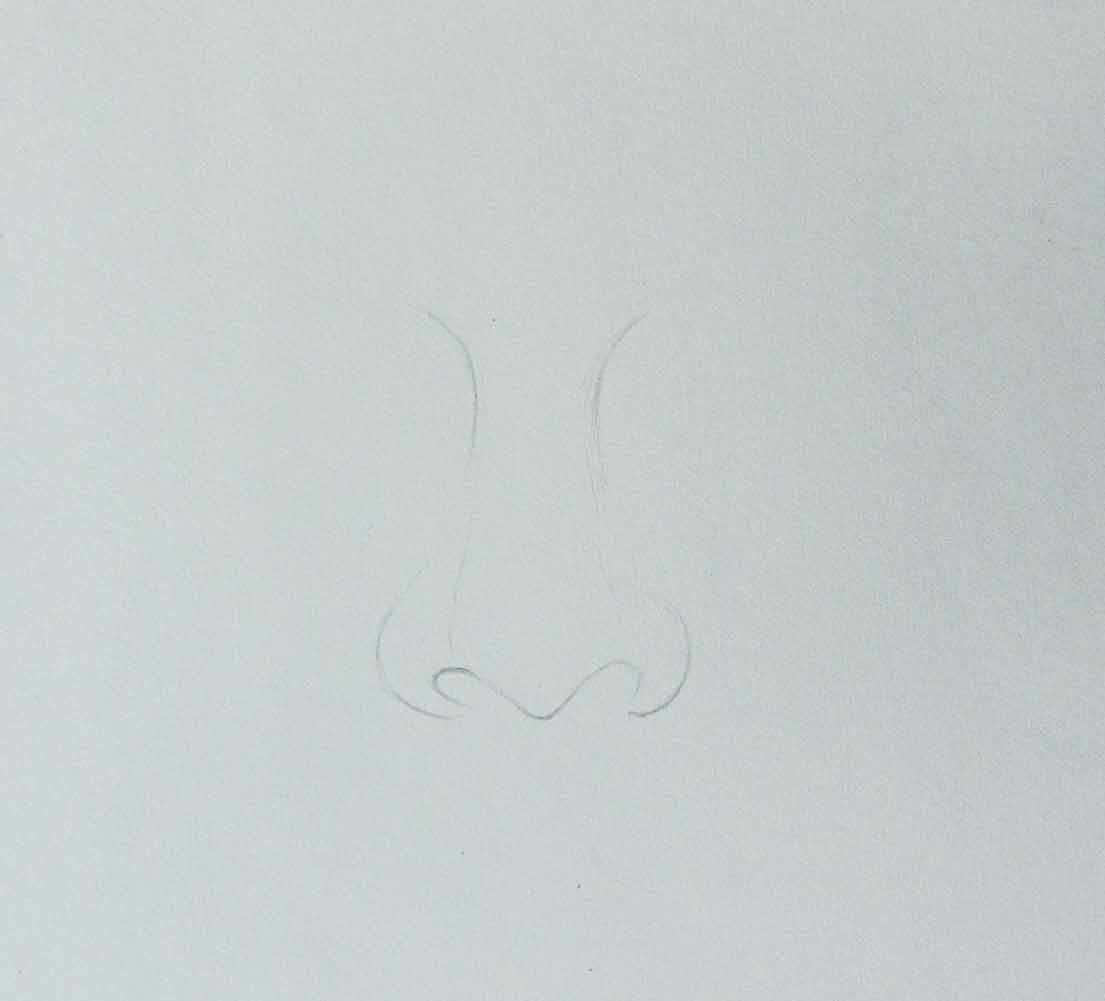
So with the guidelines of our basic structure I have drawn the outlines, I have drawn it minimal and light because as I said we don’t want any outlines showing at the end of our drawing.
3. ADDING UP LAYERS
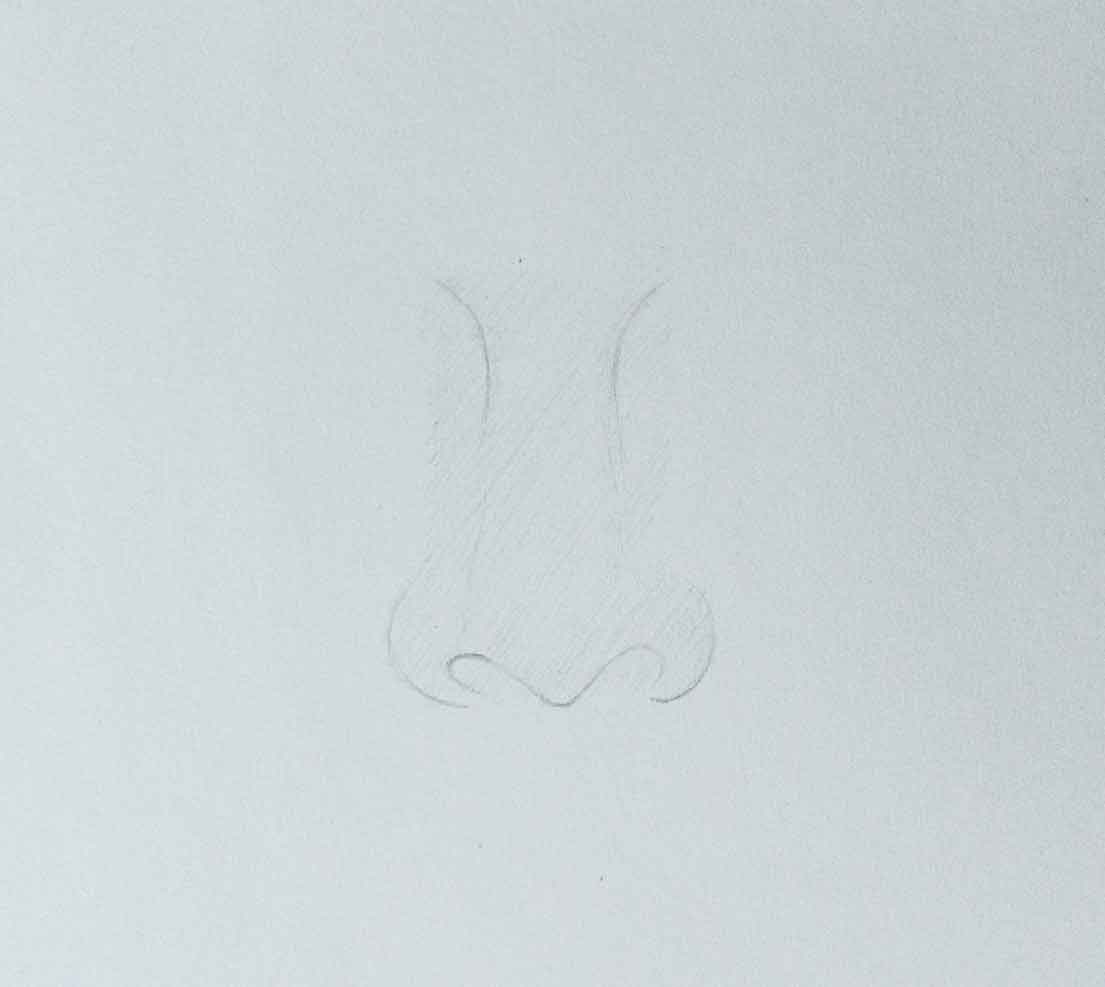
As you can see I have added a thin layer across the nose to make an even tone on the nose.
but all the graphite lines are showing up and we don’t want it, so we have to smoothen it with the help of paper stumps.
( you don’t use paper stumps before then try it on a different paper, make smaller circles of the paper stumps on the area you have to smoothen it out .)
so I have smoothened it all out with the paper stumps even the outlines to lower the intensity of it.
let’s move towards the charcoal part
4. ADDING CHARCOAL
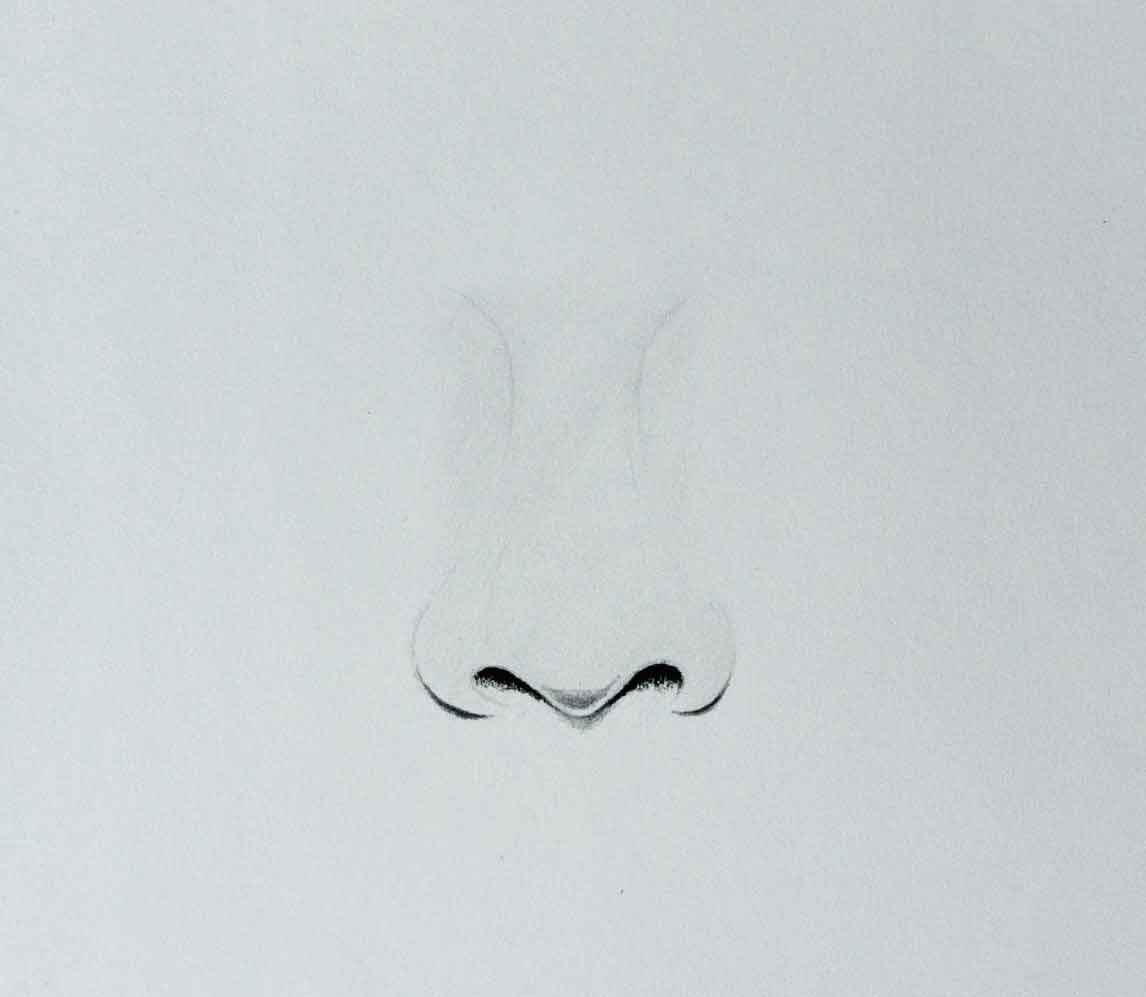
I have used the charcoal pencil to the darkest part of the nose, the nostrils are the darkest black part so it is easier to achieve that dark part with the help of a charcoal pencil, you can use a softer charcoal pencil to achieve the darkest black possible.
We will not be using charcoal anywhere else in this drawing, so now as we have added the charcoal we have to again smoothen it out with the paper stumps.
The main reason to smooth the pencil and charcoal strokes are to avoid the prominent hard lines which can make it look unrealistic.
Now we can move towards the shading part.
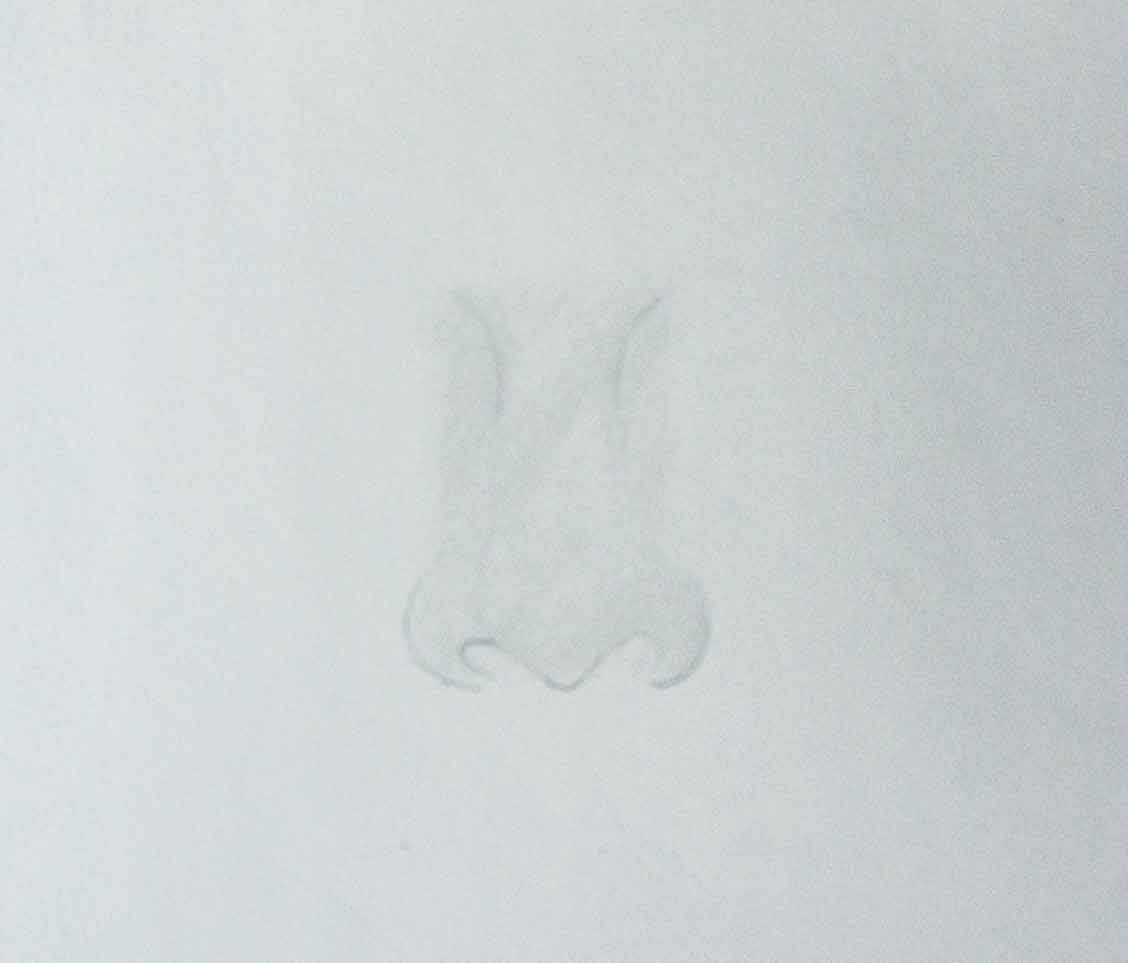
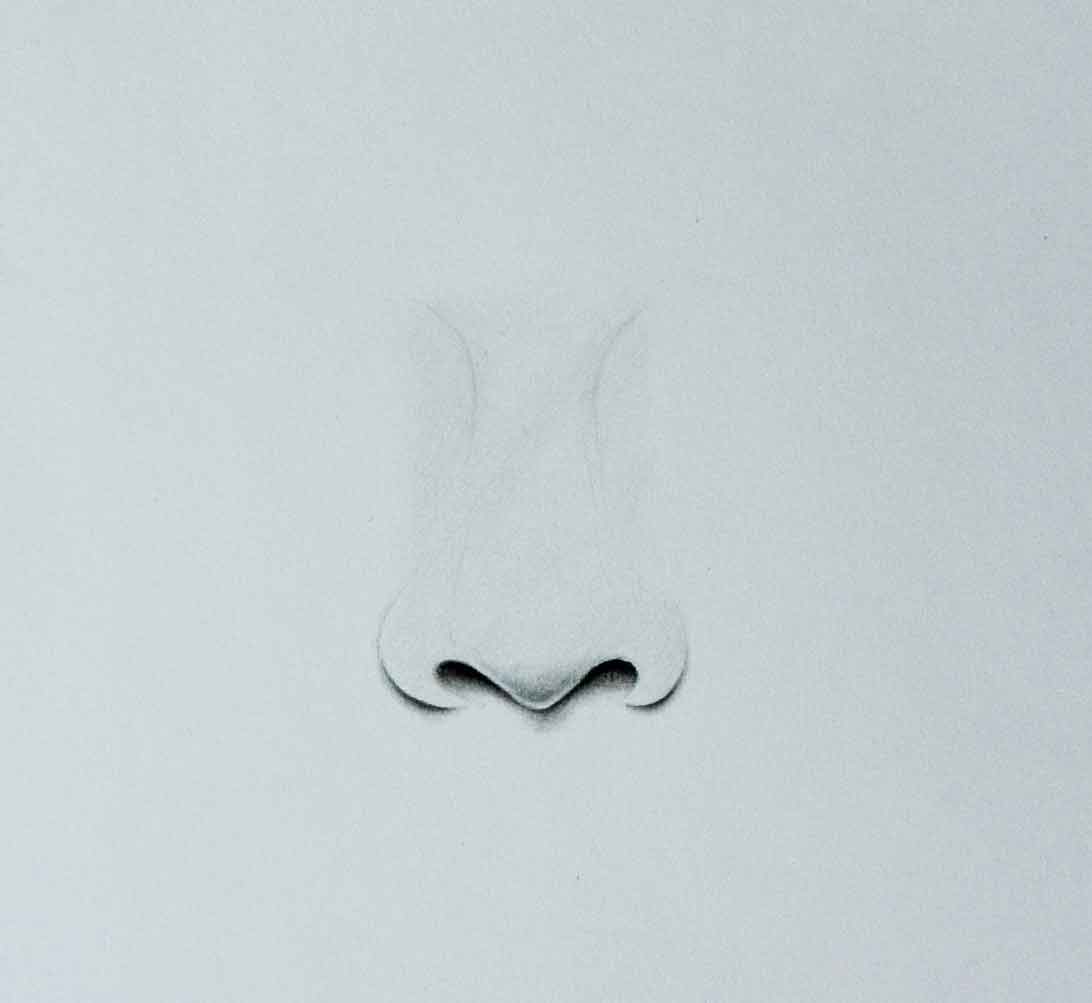
5. SHADING BASE
So now as you can see I have added the shades according to my reference image, I have only shaded the middle tones and left the dark, light, and highlighted parts unattended.
because it is just a base shading you don’t have to go completely dark in the first place we will go darker eventually step by step.
So I have smoothened out the shades with the paper stumps, and as you can see our nose is started to forming.
I am also trying here not to remain with any visible outline so it looks realistic.
Now we have to add our second layer of shading to build up the surface.
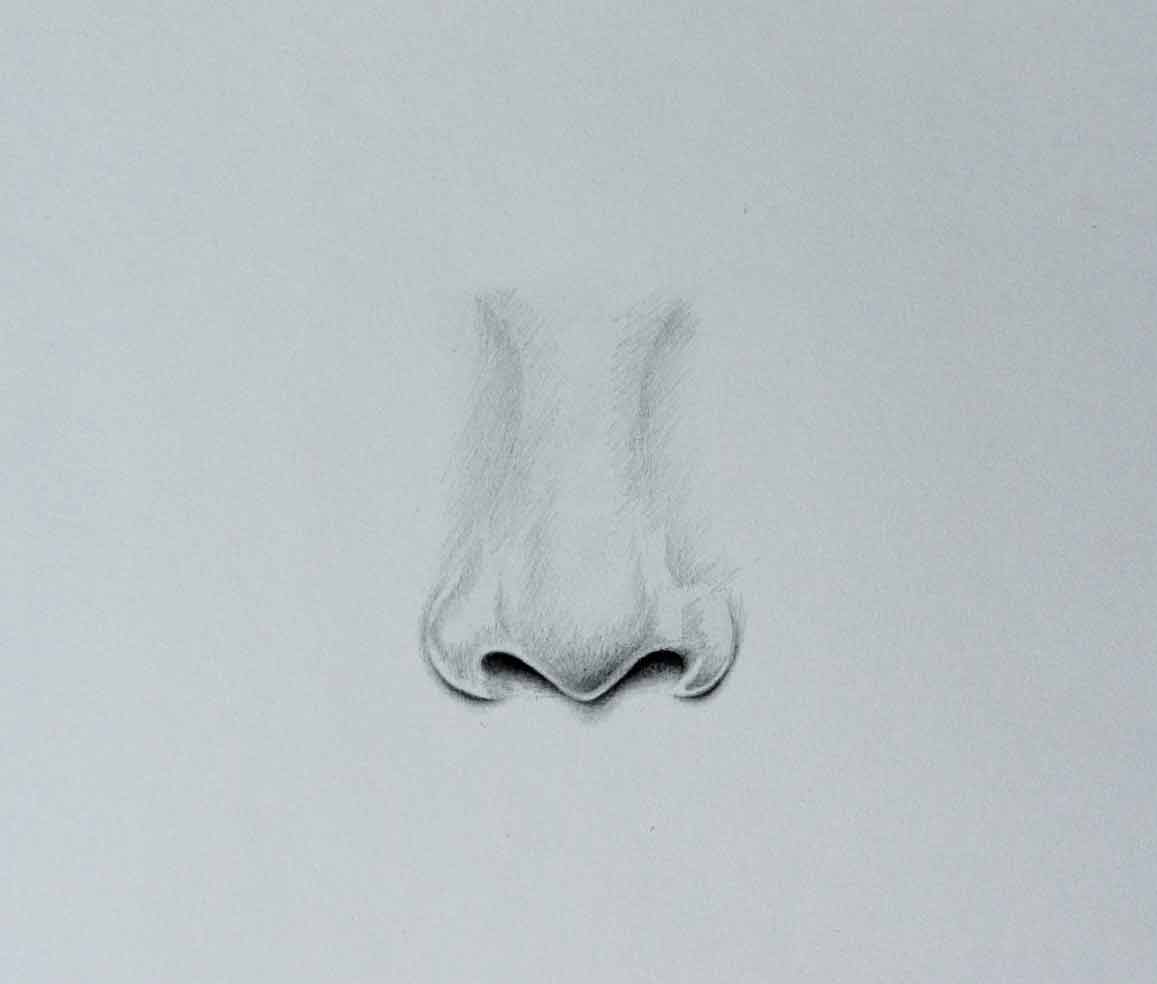
6.SHADING
I have added some more dark and middle tones according to my reference light and shade,
you can also try to gradually increase the shading from dark to light little by little, so you control the areas by not making them too dark.
Later if you feel that someplace needs to be darker then you can easily increase it.
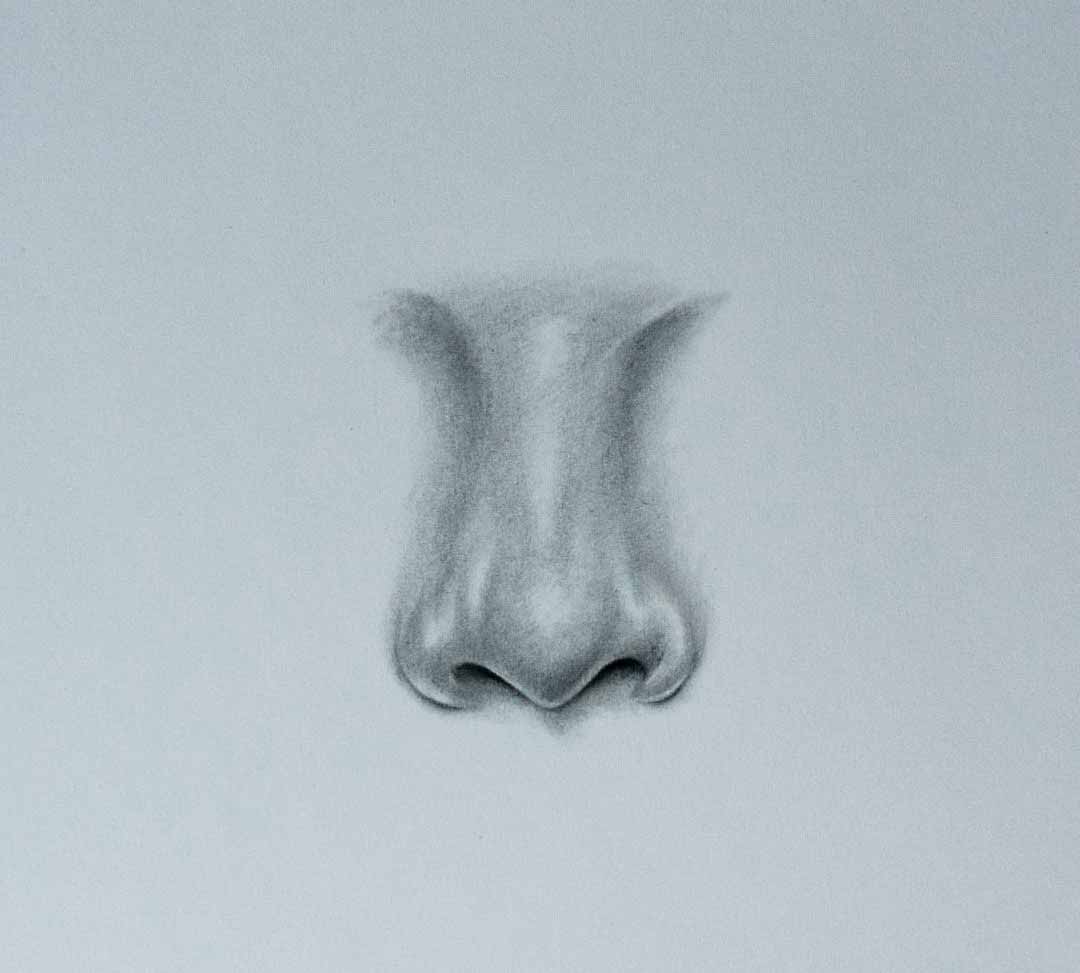
As you can see I have smoothened out all the areas with the paper stumps to give it a smooth realistic feeling.
I have also paid attention to left the highlights I want as per my reference image, so while shading keep on marking the highlights.
while smoothing the area with paper stumps if you have mistakenly covered some parts of the highlight areas, you can easily remove the unwanted graphite with the help of a kneaded eraser,
What is Kneaded Eraser
The important thing about kneaded eraser is you can shape it in every way possible and can reach the thinnest area of the drawing and make the highlighted area more prominent.
We are almost complete, but I feel around the sides of the nose bridge I still need some work and should give it a proper form.
When you are finished and satisfied with your drawing just keep it aside for some time and check it back and you will see some more areas to work on which you may have missed while continuously looking at the drawing.
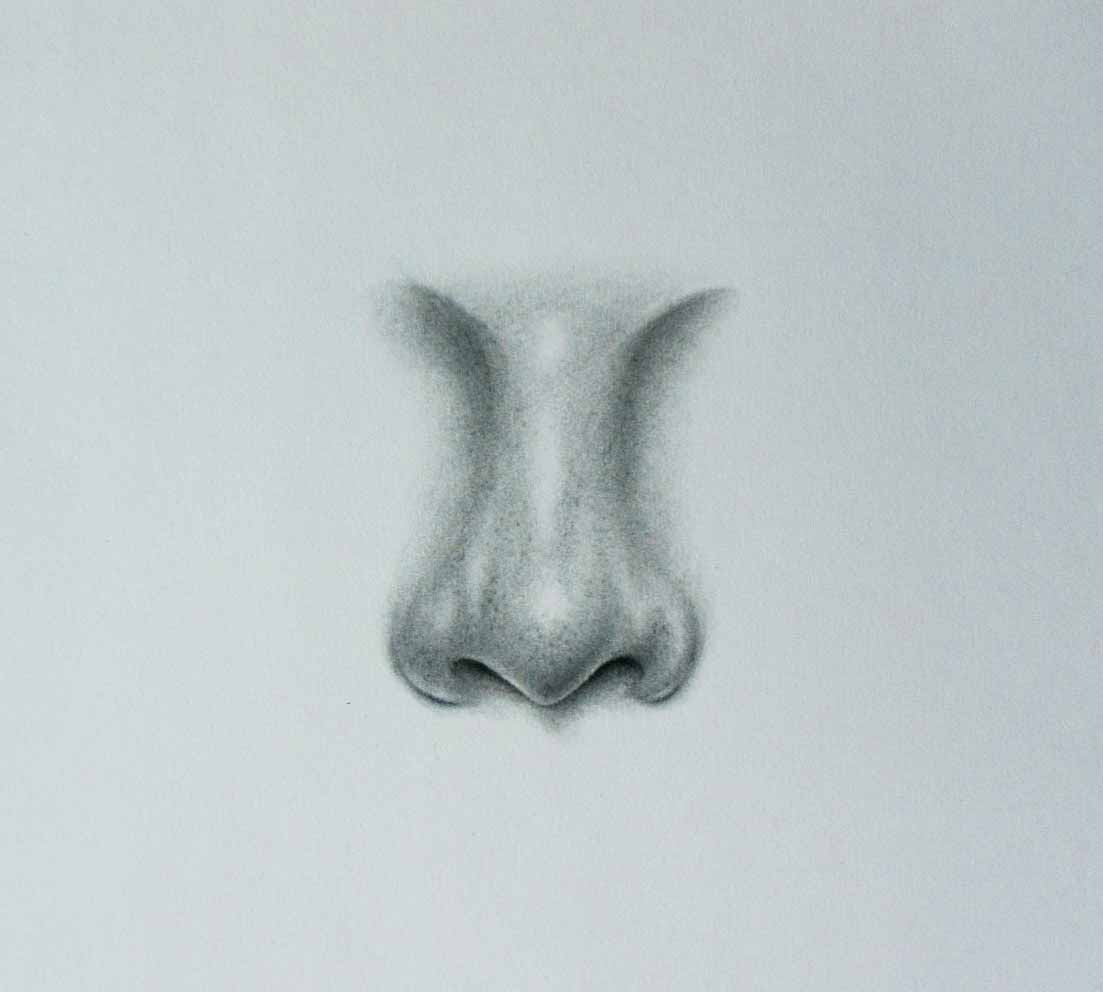
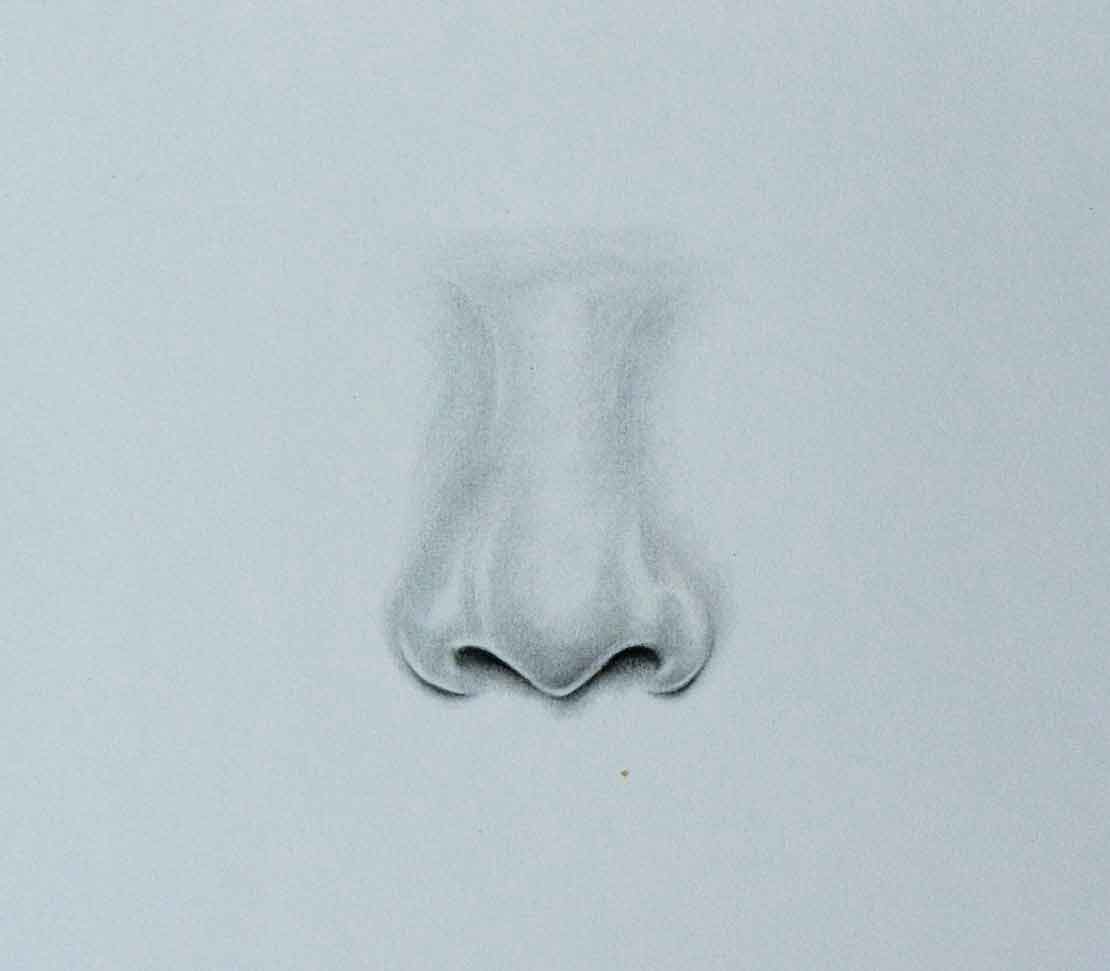
So here I have shaded some more around the sides of the nose bridge to make it look a little narrower and to give it a more form.
You can see from these steps that I have gradually increased the shading instead of doing it all at once. I have also made the highlights more prominent with the help of a kneaded eraser.
I have also added some dots(pours) to give it a texture and some really feel,
You can also see there are hardly any outlines visible in forming the nose, so when you complete your portrait picture it will look flawless, this is a very important drawing study you can learn.